
Hello all. It's been a minute since I've posted and I don't really have a good excuse. But I'm back finally with a quick tutorial on how to make these beautiful earrings!


You are going to be shocked to find out how easy these are to make and I think they look really high end and boutique-worthy. You are going to need several strips of acrylic and wood in varying widths. I made them at 12" long.

You are also going to need:
- UV Resin (I recommend high viscosity) and UV lamp
- Blue Painter's Tape
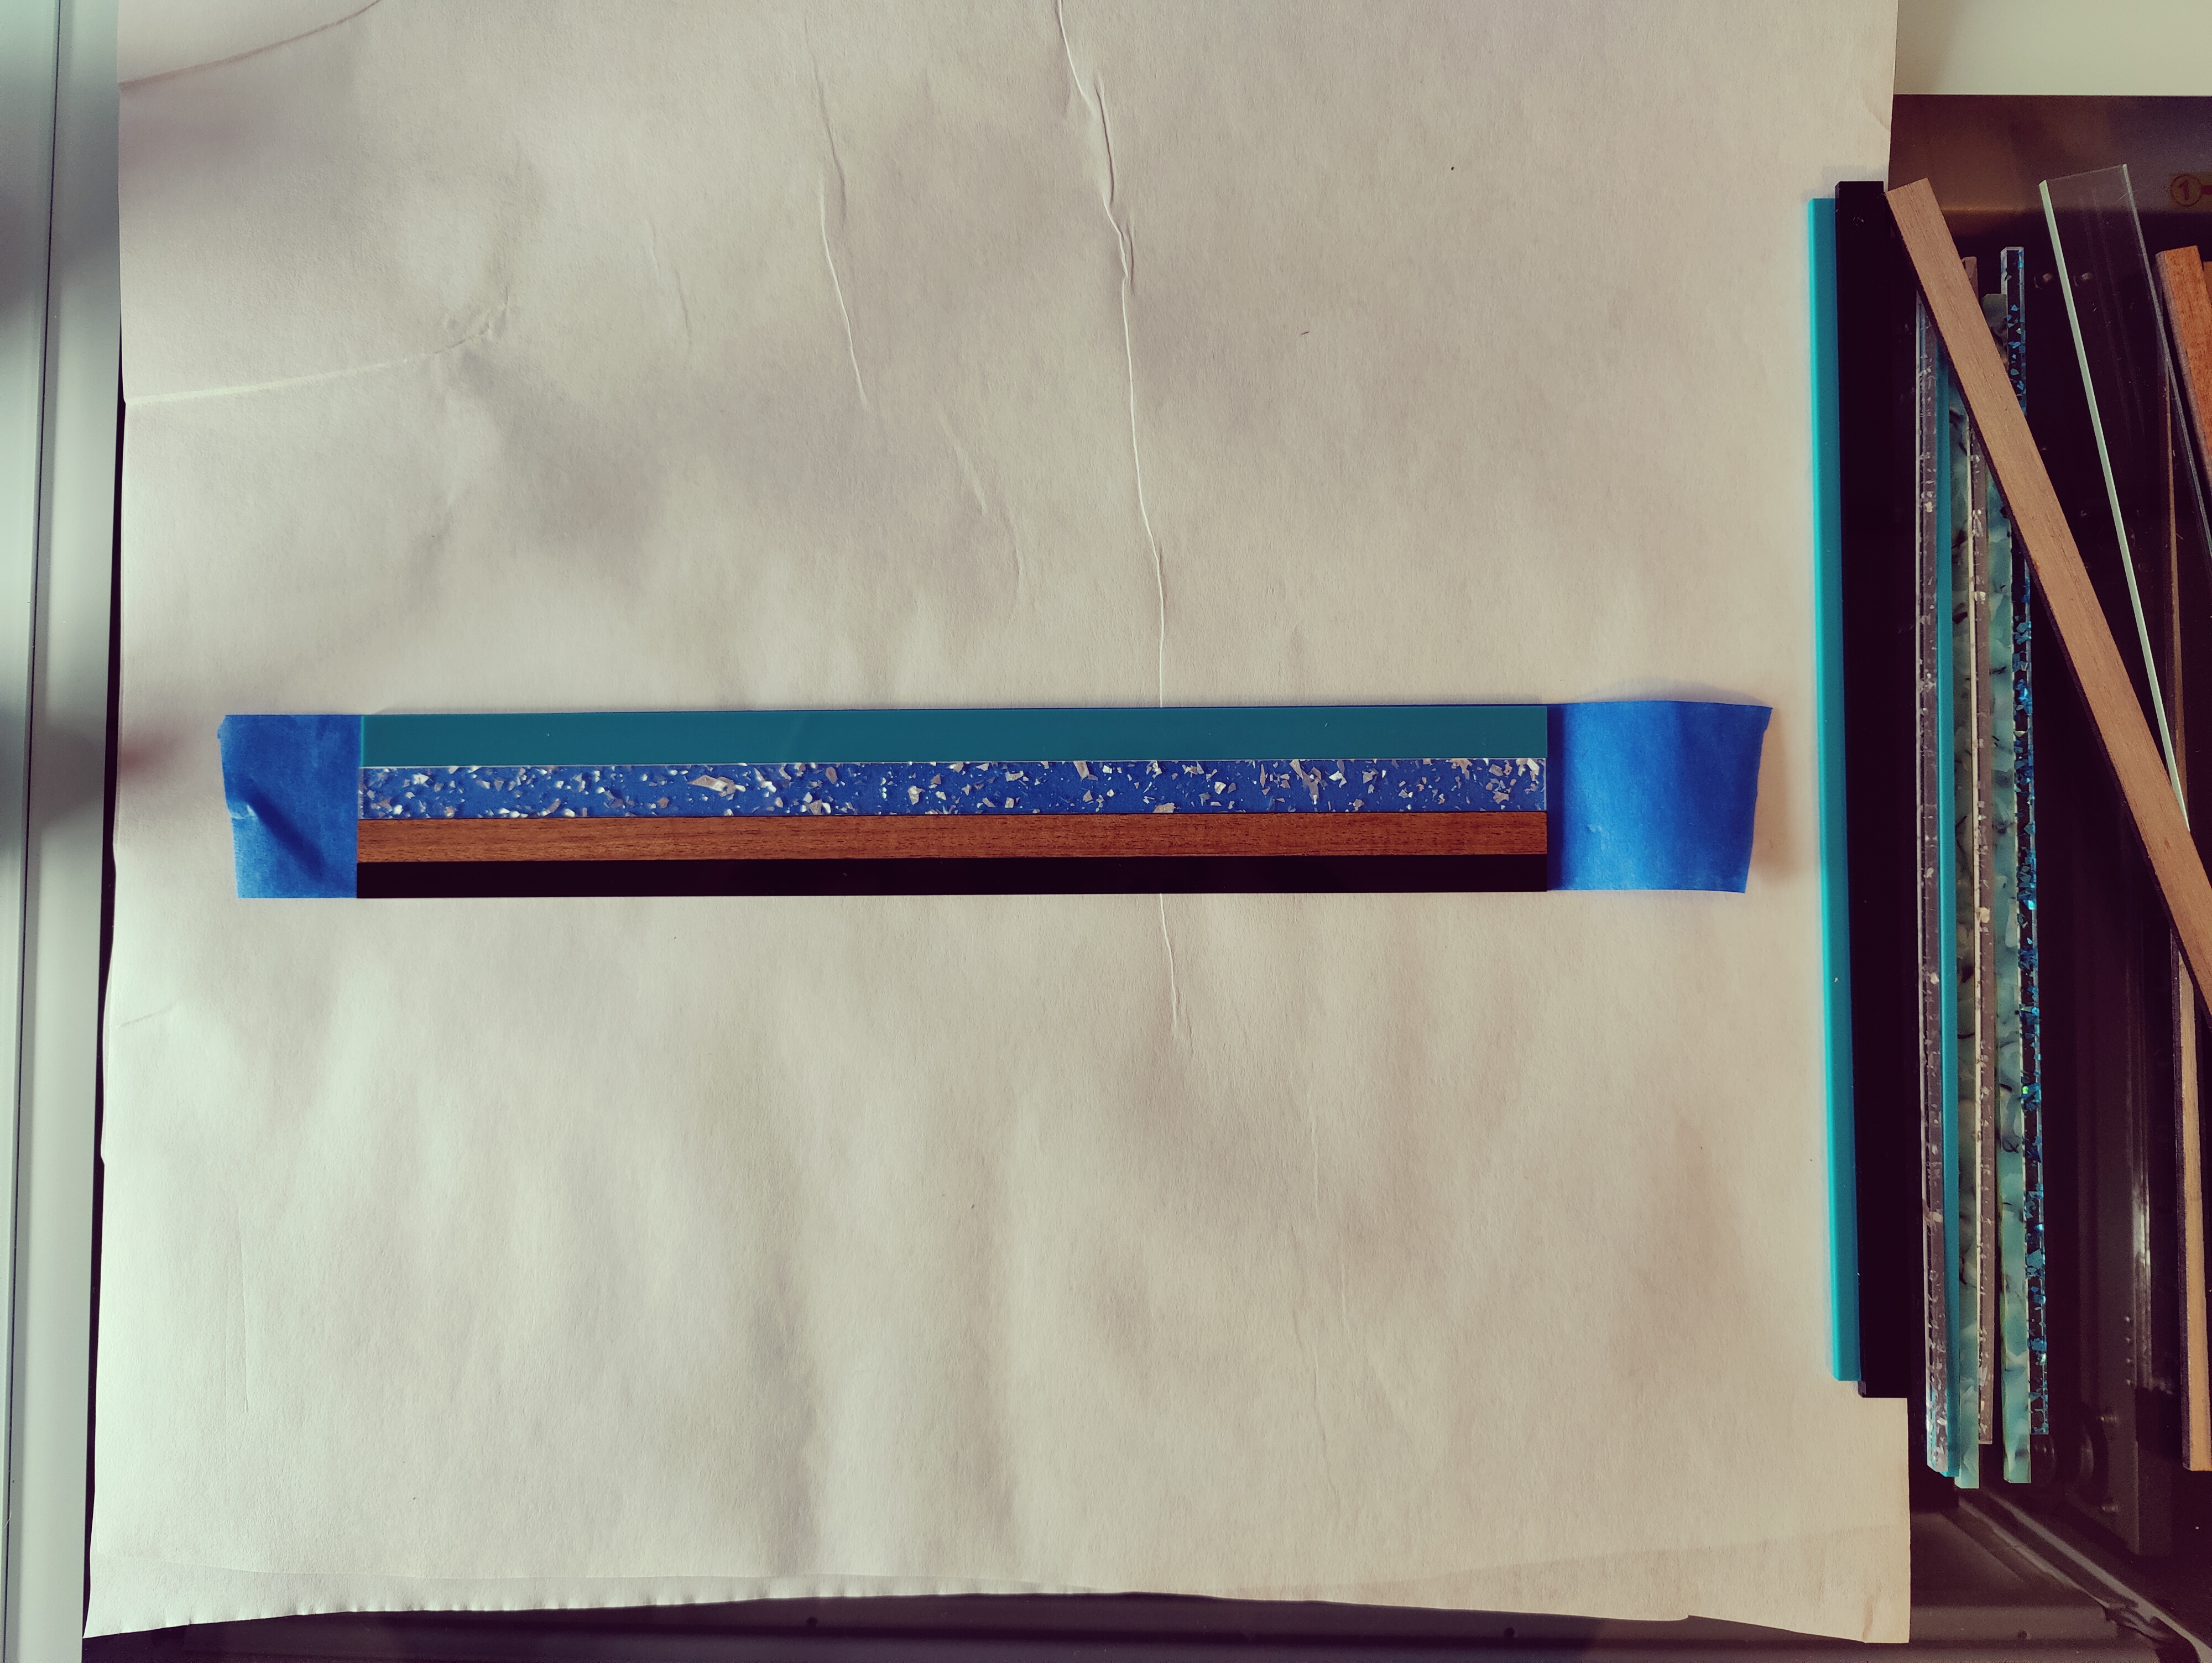
Step 1:
Line up your chosen wood and acrylic strips on a piece of painter's tape. Make sure they are pressed as close together as possible. Then top with another piece of painter's tape and trim.
Pin down the strips in your laser bed. Then go to your laser software and line up your favorite earring shapes on the taped strips.

Next, cut the earring designs.

Next, remove the painter's tape from one side only of the design.

Now you are going to apply your UV resin to the untaped side. Make sure that you get the resin all the way to the edges and pop all the little bubbles before you cure them under the lamp.
Cure the resin for the recommended time according to your chosen resin brand. When cured, remove the masking on the back and repeat the process on the other side with the UV resin.
Then marvel at your creation!
Wasn't that easy peasy? I may have gone a little crazy making these but I really enjoyed the process! Just think of all the different possibilities you can come up with!
If you found this tutorial useful, leave me a comment! Thanks for reading!
Absolutely gorgeous!
Thank you!
Thank you for sharing this. They are beautiful!!!
Amazing..Thank You Thank You..I need to do this !!!
These are gorgeous, I need to try it!
Post a Comment